The prior post discusses the history of the metamorphic furniture of Morgan and Sanders. Like the Londoners of the early 19th century, I too caught the craze and built a chair that converts into a set of library steps. Having a decent golf book collection extending up to a 9 foot ceiling, I was grabbing the kitchen stool each time to reach the top shelf. Certainly, with the amount of time I spent building the chair, I could have run back and forth to the kitchen over a thousand times. Did I really need to make this gadget? No. But, isn't a Morgan and Sanders style metamorphic library chair more hip than a kitchen stool?
The chair quickly transforms into a set of steps via hinges located along the top of the front legs.
In terms of the woodworking itself, the project was an exercise in mortise and tenon joinery. There are close to 40 of these joints, only a few of which were not angled or curved. Some of the mortise and tenons were hand cut completely, others were made with a router jig, some were in combination using power and hand tools. The crest rail was affixed using 1/2" dowels and smaller dowels were used to connect the back splat to the crest rail and rail below. The main lesson learned here is to consider the best timing to cut the joinery. Sometimes, the mortise and tenons should be cut while the stock is still square. Also, some of the curved pieces have flat sections to make the joinery simpler. For example, the back leg has a flat section at the level of the side rail as well as at the level of the arm rest. Similarly, there is a flat plateau along the top of the side rail to accept the support for the armrest support.
Flat sections on curved pieces simplifies the joinery.
Other parts of the chair do not allow for flattened surfaces. To make the angled curved shoulder for the bottom rail into the curved leg, the shoulder was cut on an angle tangent to the curve. A trace amount of the center of the shoulder was then hollowed out with sandpaper with trial and error. Some curves were so subtle that the shoulders were not hollowed out at all.
Old chair template. I did not intend to make a faithful reproduction of the Morgan and Sanders chair. I almost forgot that my dad had this old chair in a spare bedroom which he let me borrow to use to create the foundations of the template of the sides of the chair. Notice that the sides of this chair are coplanar. All of the rails that run side to side, rather than front to back, will need to be joined with angled mortise and tenons
Plywood template in the "chair" position.
Mimicking the side profile when the chair back is flipped for the stairs. The armrests needed to be shortened so that they would not hit the leg when the steps are used.
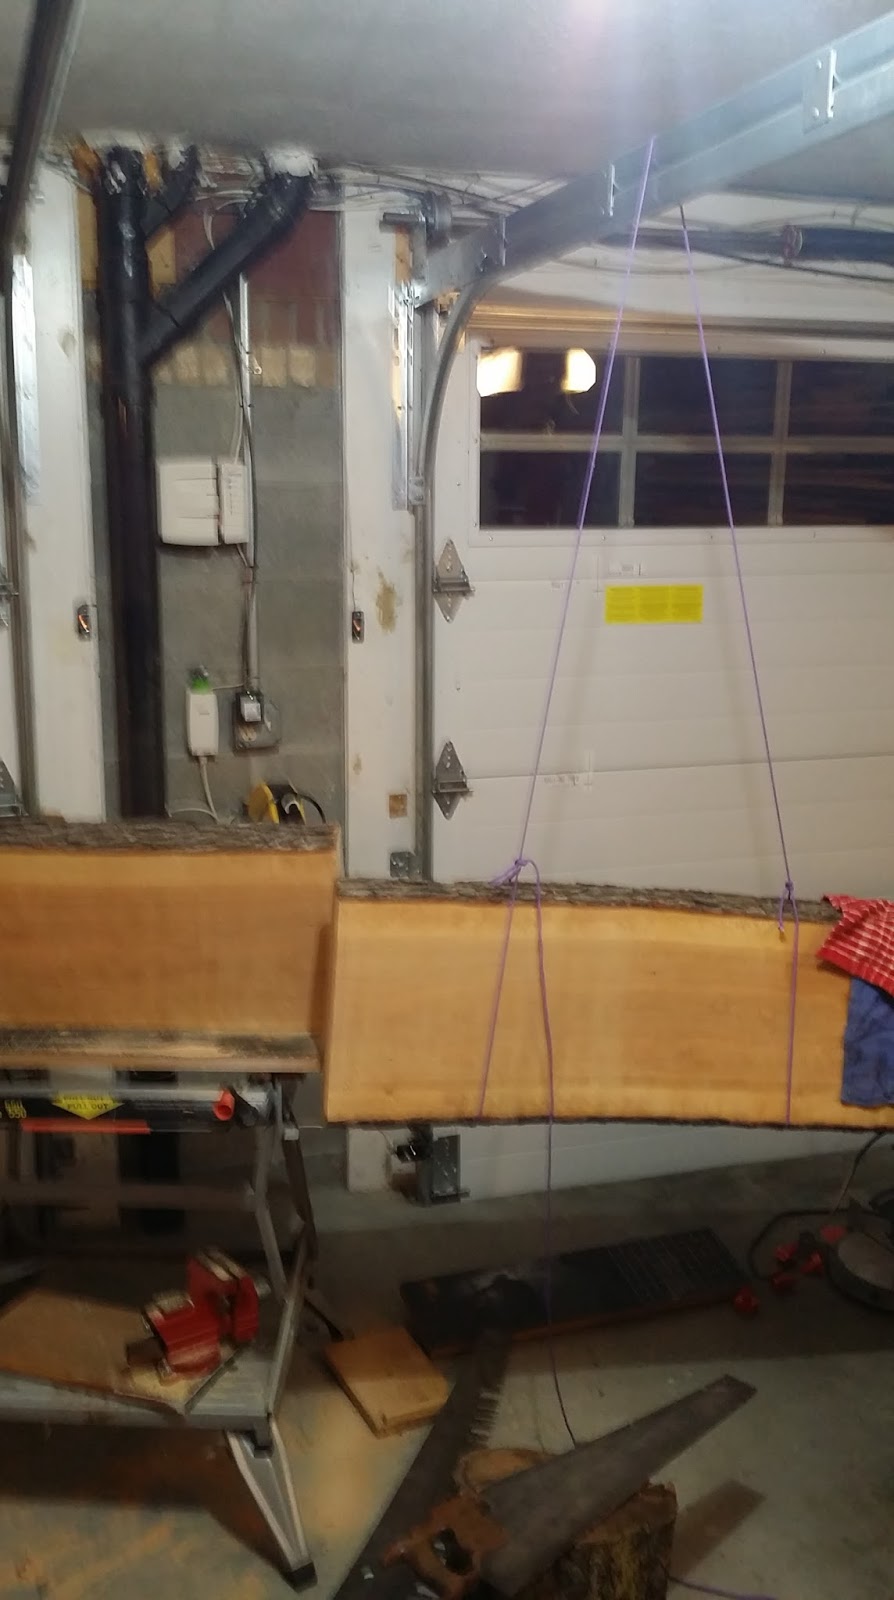
OK. I don't own a table saw. I am not recommending the use of your garage door rails as a hoist.
I worked with a large approx 14/4 slab of cherry. There were 5 different pieces for the sides of the chair. The final side thickness is 1 3/8". The left and right pieces were cut as one, shaped and sanded, and then ripped in half to have a corresponding left and right.
This template jig prevented the blade from wandering too far off course. This type of jig has been described in the various woodworking magazines.
Following the rough cutting with the band saw, the pieces were cleaned up with a spokeshave and then sanded.
I went with angled mortises rather than angled tenons. You can look at other sites about that debate. Sometimes the tenons were cut freehand, other times I used my Stanley 55 saw plane.
The key lesson for these joints: When I found myself scratching my head too long to figure out something, it was just easier to go old school. Our eyes, along with a bevel gauge, are more accurate than we can sometimes imagine. 7° was my working angle.
Here was my first significant boneheaded blunder. These hinges will help the back part of the chair flip over the front legs to expose the steps. Unfortunately, the hinge central axis as well as the rear of the front leg at the level of the hinge needed to be parallel to the rear of the front rail. Why? While the hinge works smoothly before assembly, when the right and left hinges are installed and the chair is assembled, the angle of hinges will try to force the rails outward as the chair is converted to the steps.
Note the difference after fixing things up a bit..
The central axis of the hinges are now colinear with the rear of the front seat rail.
Note that the side rail is not shaped until the mortise and tenons are completed.
Chair swung open in "steps" mode.
A router jig to create the mortise and tenons was used for many of the smaller pieces that support the treads of the steps.
Stair treads made of maple
I finally got to use my coach-makers router to fashion the grooves for the panel.
At this point, I had not glued anything in place.
This shows the mortise for the hinge. Since screws go into end grain, dowels were placed just deep to the mortise so that the screw can have more grab. The second screw goes through a tenon.
The side rails and other components are shaped . Then glue up is completed. Further finer shaping was performed with rasps and files after glue up. Quirk beads are made with a scratch stock in a fairly tedious manner. The beads were worked on before gluing and then further finessed after gluing. Some issues with short grain tearout with the beading occurred as the upper rear of armrest joins the rear leg. The volutes were fashioned on lathe and applied to recessed holes.
This is the improvised locking mechanism when the chair-steps is used as a chair. The plate is located on the upper surface of the first step. There is a brass threaded insert in the larger hole. To lock the chair, the threaded brass pin runs through a brass lined hole on the fourth step (which sits on top of the first step) and the engages the insert. The original 1811 model used a lever under the first step with a hook that latched into a plate on the fourth step above.
The "emblem" is a standardized 1" golf ball marker recessed flush to the surface with a magnetic backing which can be easily exchanged.


Very nice! Great job!
ReplyDelete