Scratch Stock Variation

A scratch stock is useful for creating profiles on curves and, also, when there is not enough space to use a moulding plane on straight stock. Here, we have a modified mortising gauge (that I picked up from Harbour Freight for $10) that can be adapted to hold Stanley 55 cutters.
 |
| Stanley 55 cutters, especially the bead and flute cutters, make fine blades for scratch stock |


The original mortising gauge is modified by cutting out a slot that is slightly wider than the thickness of the Stanley 55 cutter at the end of the beam. This is accomplished by first removing the screwed in fixed brass piece that has the fixed scratch pin. Then, the sliding brass segment is pushed forward and the second pin is removed by inserting a small nail from the underside of the slider and hammering it out. There is another pin on the other side that is also easily removed by unscrewing another brass slide. Use a thin kerfed saw to remove a section slighty thinner than the cutter thickness. Then pare down incrementally with a chisel until you have a snug fit. The slot should be about 2 inches long to allow for bending of the wood when the tightening screws are applied.
.
 Here we have the slot cut out. A brass threaded insert is then screwed in near the tip of the beam and a smaller hole is drilled on the opposing side to accept a bolt for tightening the cutter in place. Then, select your cutter. Slide the brass slider against the cutter. The main stock is the slid to abut the cutter and the knurled knob is tightened. The flat side of the cutter will do the work.
 |
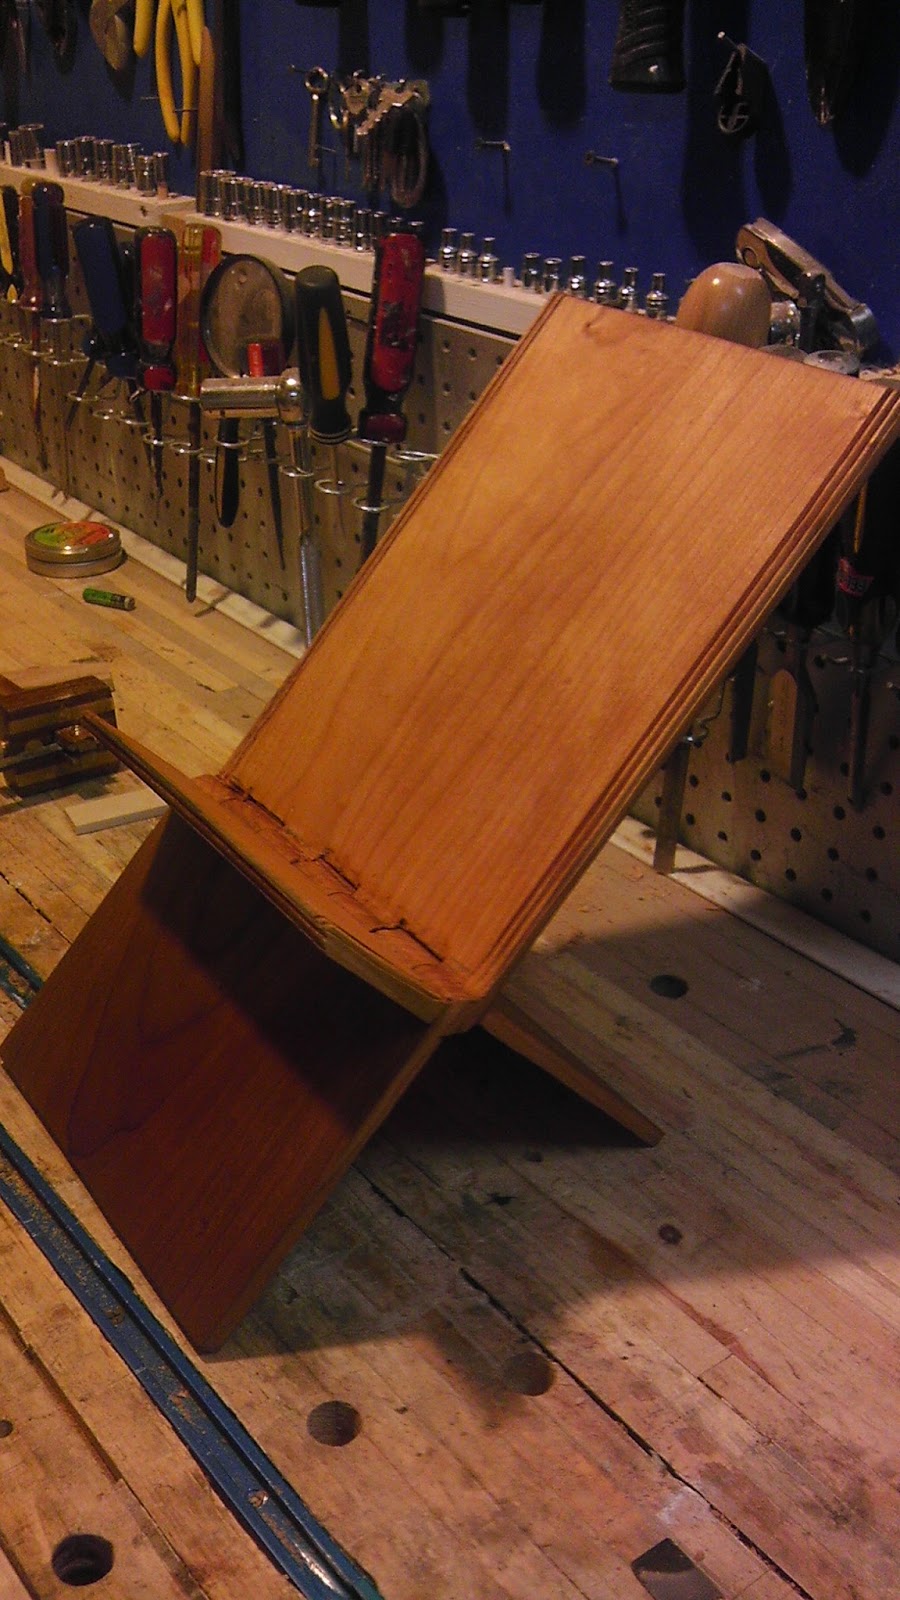
| Double bead made with a Stanley 55 cutter for a Roubo bookstand |
Two Trick Pony


When the Stanley blades won't suffice, you can cut a thinner slot on the opposite end of the beam to accommodate a more traditional scratch stock blade using a piece of spring steel from an old saw and custom filing it. The same technique as noted above is used with a couple additional mods. A slot needs to be cut into the main guide block that will allow the steel blade to slide through it. This also provides additional stability.
You will realize that in order to cinch down the knurled set screw of the main stock, the brass slider needs to be slid down under the set screw so that the set screw has something firm to tighten against. If you are using both ends of the beam, this will cause a problem with the brass screw for the slider getting in the way. Fortunately, this screw can be removed. A second hole with a tapped thread on the opposite end of the slider can be created to allow for easier sliding.
 |
| Newly tapped thread (top of photo) allows for exchange of the bolt (at bottom) to the opposite end of the brass slider. |


Comments
Post a Comment