A Tool Chest for Hand Saws
A Tool Chest for Hand Saws
This is a long narrow tool chest to house hand saws and other longer items that do not fit well in the traveler's tool chest. It is 31W" x 9"H x 11D". The measurements were based on the largest saw that I wanted to put in the chest. It is a very simple design. All of the wood is 3/4" thick, except the top panel which is 15/32". The sides are connected with through dovetails. The top and bottom panels are set into grooves along the inside perimeter. The top panel has an inlay pattern on the outside and a carved advertisement for a saw on the inside.


The tails are marked first.

After gang cutting the tails, the waste is removed with a coping saw. Pins are marked and cut.

The Stanley 55 was used again for this project. The "55" created the following:
- The bottom of the chest consists of 4 boards assembled together with 1/4" tongue and groove joinery. There are matching tongue and groove cutters on the 55.
- Side rebates were cut on the bottom panels after installing a nicker blade. This blade is a bit of a hassle to install because of the very small parts, a set screw and the nicker itself. Once set up properly, the nickers work well across the grain.
- 1/4" grooves were cut on the sides to create top and bottom grooves. Although half-lapped dovetails can be used, I opted to use a router plane with a 1/4" blade and chisel to cut grooves through the front and rear panels stopping the groove before the end of the dovetail so that the groove does not show externally.


INLAY
The routing out for inlay for the lid was created with a 1/4" cutter installed into a Veritas router plane with a fence. To prevent tear out, 1/4" chisel cuts were made at the ends of the grooves preemptively.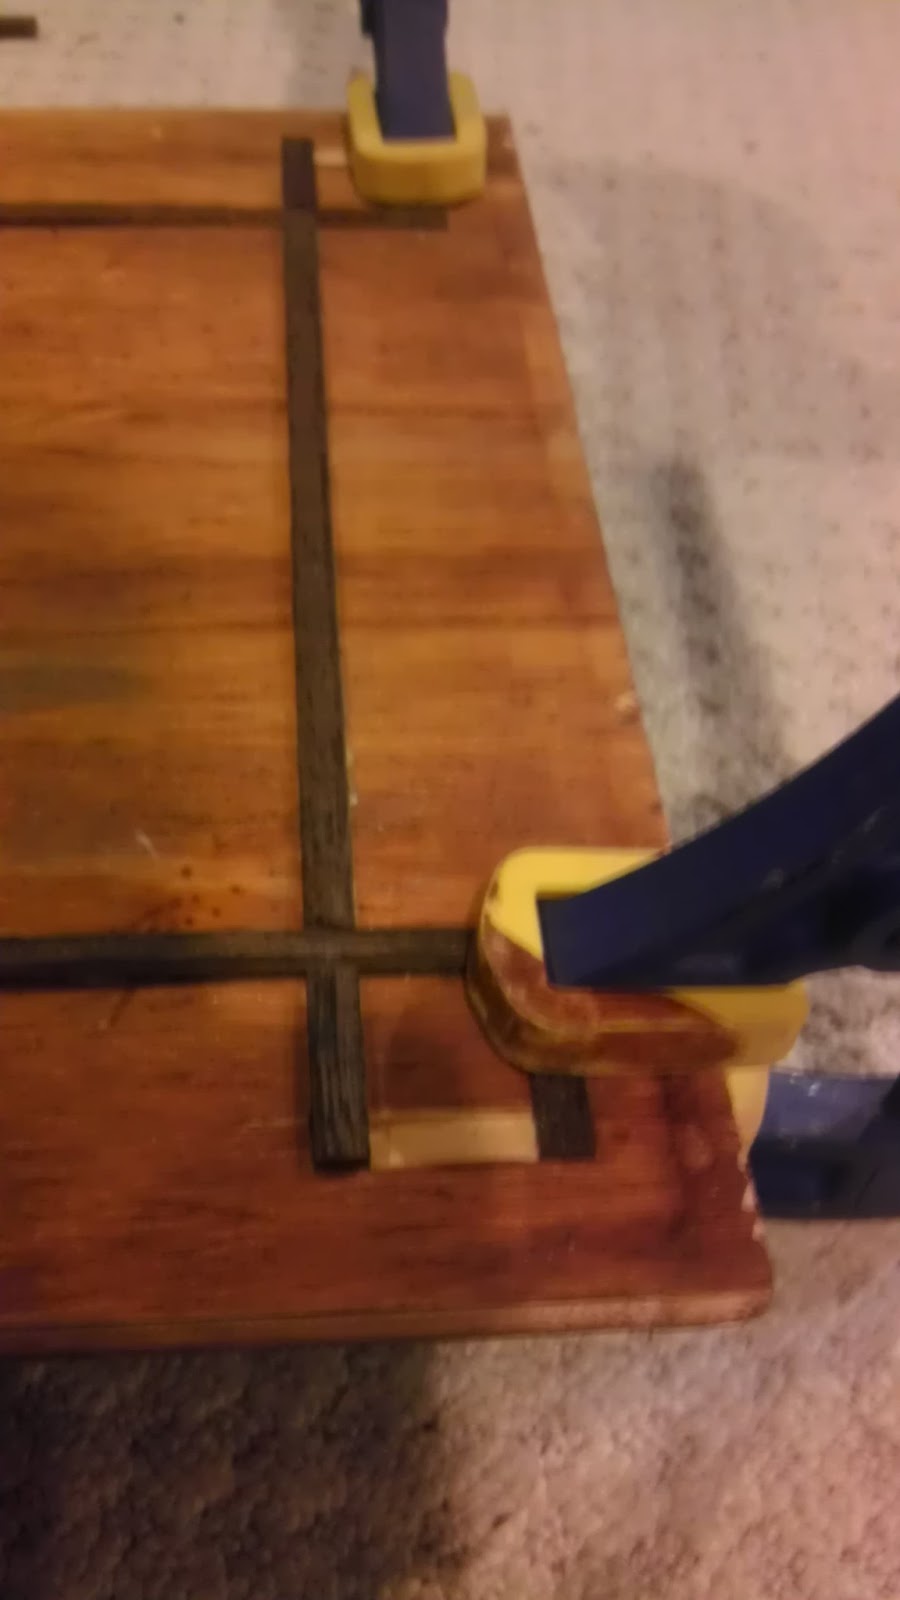
Using a cutting gauge and a fine toothed saw, 1/4 " strips of wenge wood (use respirator and dust collector) were fitted into the inlay grooves. Use a shooting board to take off just the correct amount of length for each piece.

Low angle block plane skewed to flatten the inlay to the same level as the panel.


One layer of tung oil


Handles, mortise lock, +/- casters to follow.


Comments
Post a Comment